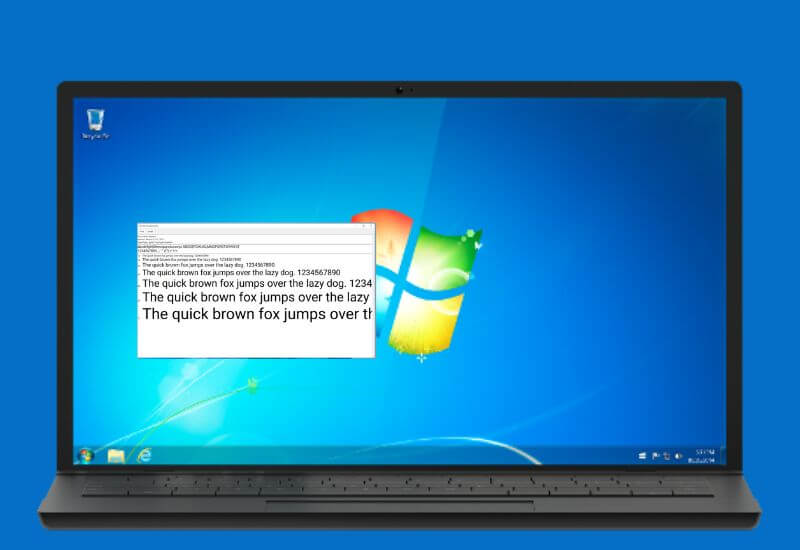
Tutorial on How to Add or Install Fonts in Windows 7 quickly and easily that you can try yourself on a computer device.
How to Add or Install Fonts in Windows 7 ? In this digital era, graphic design is a must for all companies. In fact, not only companies, small businesses are important to have at least a little graphic design knowledge.
Well, for those of you who want to be involved in this graphic design world, one basic thing is needed that is often seen as trivial, even though its presence is important, namely fonts.
Using the default fonts that are usually installed by default on Windows may be enough for use as writing in Word, but are usually less supportive for use in certain design styles and design products.
This is because fonts greatly affect the proportion of designs in a graphic design work. This is because the design is not only concerned with writing style and informative content, but also emphasizes the aesthetic side.
To overcome this, Windows allows users to install fonts according to what their users want. Fonts in the form of ttf files are widely available on the internet for free download and to add to your font collection.
You can also increase the font selection in Windows by importing font files from a USB or CD/DVD. How to add fonts in Windows 7 can be done easily by anyone, here we provide information about the steps.
How to Add or Install Fonts in Windows 7
To be able to get the desired font, you can go to a free font site available on the internet. This free site is copyright-free, so you don’t have to worry about downloading and searching for fonts on these selected sites.
After selecting the desired font, here are the steps you can take to add fonts in Windows 7:
1. Download font files on free font sites. Usually fonts are compressed in the form of a .zip folder in which you will find several variations of the same font with different shapes. Here we will download Family the Roboto font

2. Extract the .zip font file by right-clicking the folder, then selecting ” Extract here ” or ” Extract file “. So, now you will see a font file with TrueType or OpenType type.
3. Next, install the font by right-clicking on the font you want to use, then selecting ” Install “.
4. Usually there will be a pop up notification tone asking the program permission to make changes to the computer. If you already trust the source of the font, you can click ” Yes ” or ” Yes “.
5. Check on some software that uses writing, whether the downloaded text has successfully entered the software on your computer. If it already exists, you can double check it by trying it on the required software.
All downloaded fonts are stored on the system disk C:, so there are other ways to add files to Windows 7 besides this method, namely:
- First “ Copy ” the font file in the Downloads folder
- Open Local Disc C:, then select the Fonts folder, then there will be many types of fonts in it.
- Then ” Paste ” the font file earlier
Read Also: How to Add Fonts in Latest Word
7 Hardware Diagnostic Tools in Windows 10
Then you can immediately check on the various kinds of software that you want to use, make sure whether the font is already installed on the various kinds of software that you will use.
Those are some ways to add or install fonts in Windows 7, it’s easy, isn’t it? Please note, if you add or install fonts in Windows 7 system for use in Microsoft Word, then other software or programs can also use the installed fonts, such as Adobe Photoshop or Corel Draw software. Good luck!

Lokesh Sharma is a digital marketer and SEO expert at TechJustify with a keen interest in emerging technology trends including AI, cybersecurity, and digital marketing tools for more than 5 years. He writes clear, actionable articles for tech enthusiasts and business leaders, simplifying complex topics like VPNs, automation, and generative AI.


