
How To Create a Minecraft Server in 2022 (Java Edition) – If after trying the single-player mode of Minecraft, one of the most popular games in the world, you feel like creating your own game world in which to build and explore with friends, what you need is your own private server. . In this guide we explain step by step the procedure to create one.
Table of Contents
How to Create A Minecraft Server in 2022
Thanks to the private server, you can create your own Minecraft world to host several players simultaneously. Doing so is not exactly intuitive, on the contrary, it requires some computer knowledge which, although basic, must be specified to make everything understandable.
Generally speaking, the steps required to create your own Minecraft server are as follows:
- Install the latest version of Java
- Establish the new version of the Minecraft server software
- Configure your server and network
- Start the server
- Check that your server is accessible
Premises
In a little while, we will go to see in detail what these points consist of, but first, we want to tell you what technical knowledge you need to have to proceed.
In fact, to manage any type of server, you will need to be familiar with the command-line interface (the “cmd”), the management of your network (mainly IP address and network ports), the general network configuration, and that of the home router.
With this guide, you will be able to create a server hosted by your home network, but this means that you will make it accessible to the whole world, with all the risks that this implies.
If you prefer a more secure way and don’t want to manage the hardware part of the server, you can always turn to a third-party service (unfortunately not free) that hosts the server on your behalf, such as GoDaddy,Hostinger.
Finally, remember that basing the server on a wired (ethernet) connection is more reliable than using a wireless connection.
How to Install Java in Minecraft Server

The first step to create your own Minecraft server for free is to install the latest version of Java. Open the Windows Control Panel; under Programs, look for Java and click on “Update Now”.
Check the Java site to see what the latest version is. In case you don’t have Java installed, you can download it from the same site.
Choose a folder for the server files
Before downloading the Minecraft server software, choose the folder on the PC from which you would like to launch the server. When you start it for the first time, some configuration files will be created; for this reason, it is best to have all these files grouped in a dedicated folder.
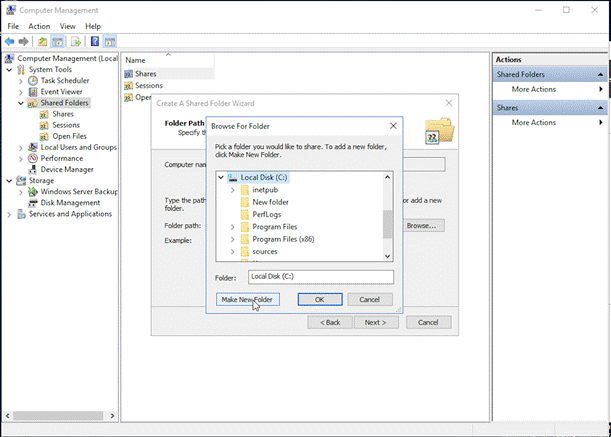
You can place this folder on the Local Disk C, in the Documents folder, in the Program Files folder, or anywhere else, it doesn’t matter.
Download and launch the official software
Now you need to download Java from the official website. Save the .jar file in the folder you just created and double-click the file to start the server. The software automatically creates the necessary configuration files, which will have to be modified as we will see to allow the use of the server.
Important: among the newly created files you will see one called “eula.txt”. Open it with any text editor and change the “Eula = false” to the ” EULA = true “string. This change, albeit a minor one, is critical to getting the Minecraft server up and running.
If the error “Cannot save server properties” appears, just start the .jar file as administrator, right-clicking and selecting “Start as administrator”.
Port forward the router
To host players worldwide, it is necessary to “open the ports” of the router, an operation better known by the English definition ” port forwarding “. This is not necessary if you host a server for players using the same local network.
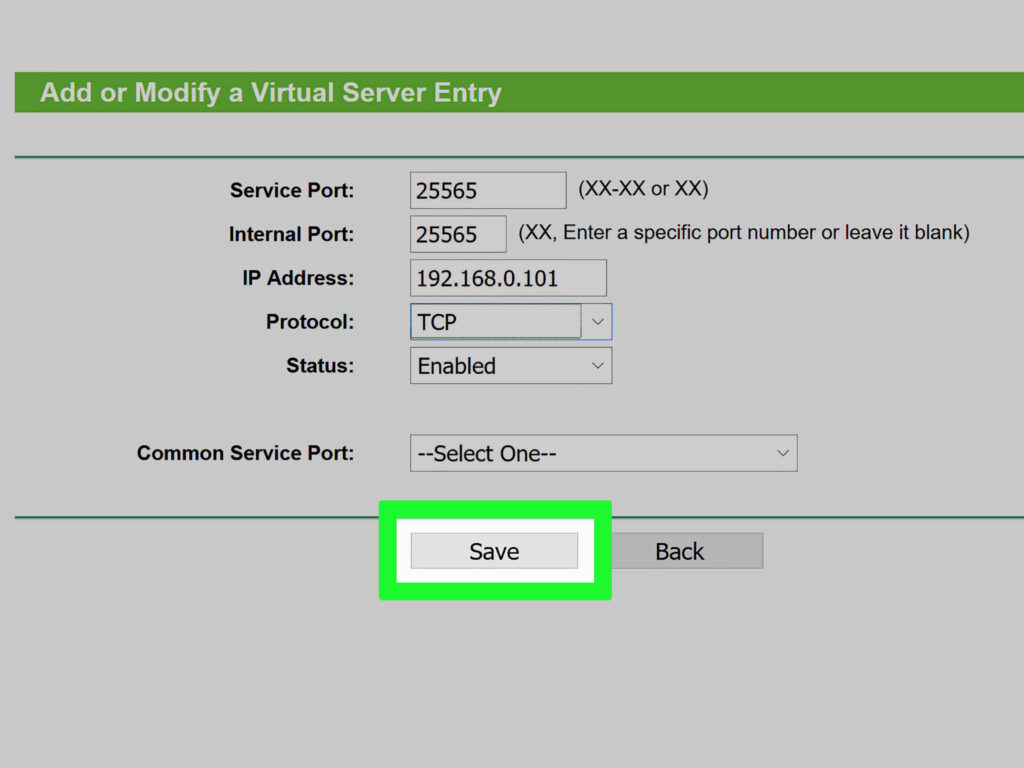
To enable the Minecraft server port, you will have to enter the number 25565 in the wording TCP. Also, you must specify the local IP address of the server (ie that of your PC) as “Output IP” or “Server IP” for the configured port.
This is to tell the router which device is the active one. To find the local IP, open the command prompt and type ” ipconfig “.
Read Also: How to Create a Minecraft Server Manually
Start the Minecraft server
Find the path where the Minecraft server file was installed (the name should be like “minecraft_server.1.12.2.jar”).
Now copy the path or write it somewhere, you will need it for the next step. Open the Windows command prompt and type
java -Xmx1024M -Xms1024M -jar {server file name}
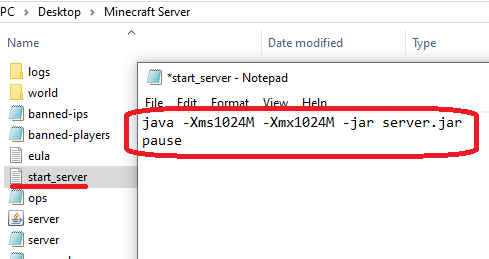
Replacing the server file name with the actual name of the server file you just discovered. If you want to use the server UI, leave out the parameter from the command line to type.
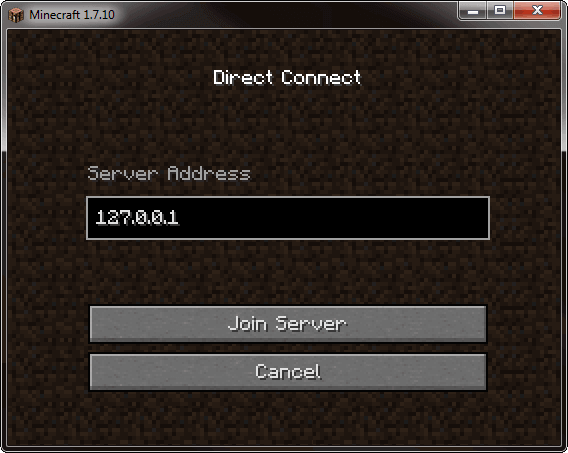
Once the server is started, you can invite other users to access your server via the local IP address if they are already connected to your home network, or via the external or public IP address in case, instead, do not have access to your home network. To discover the unrestricted IP, google “What is my IP place ?”
You have created your own private Minecraft server! Last but not least, you can check that your server is working properly by entering the public IP on the Minecraft Server Status Checker.
If you want to stay up to date, follow us on Instagram, and Twitter. If you want to receive support for any questions or problems, join our Facebook Group or contact us on Gmail, Linkedin, etc

Pradeep Sharma is a author the mind behind Techjustify, where I craft insightful blogs on technology, digital tools, gaming, AI, and beyond. With years of experience in digital marketing and a passion for tech innovation, I aim to simplify complex topics for readers worldwide.
My mission is to empower individuals with practical knowledge and up-to-date insights, helping them make informed decisions in the ever-evolving digital landscape.