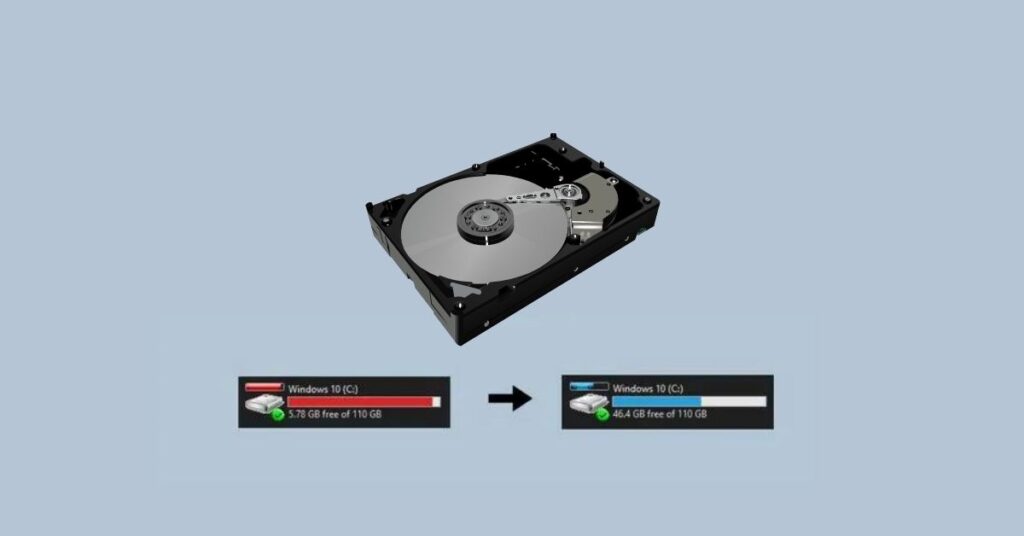
8 Ways to Clean a Full Hard Drive in Windows – How to Clean a Full Hard Drive – The maximum capacity that can be accommodated by a hard disk from time to time is always increasing.
But it feels like the hard drive we have always seems full.
Table of Contents
8 Ways to Clean a Full Hard Drive in Windows
Especially if you use an SSD that has a smaller capacity than an HDD, of course you have to clean the hard drive often so that it looks more spacious, aka not red.
1. Analyze the hard drive
To find out exactly what types of files are filling our hard disks, you need an application that can scan your hard disk, one application that can be used is WinDirStat.
Open WinDirStat after installation is complete then select the drive to be scanned. After the scan process is complete, WinDirStat will display any files that are filling up your hard drive.
This application really helps the writer personally because the writer just found out that the AMD folder takes up to 16GB of storage like the picture above.
And it turns out that the contents of the folder are old versions of drivers that are not removed automatically when installing a new version of the driver.
Therefore, the author just deleted the folder containing the old version of the driver and was able to save 10GB. Thanks WinDirStat 😉
2. Disk Cleanup
Windows by default already provides a tool that is used to delete temporary files (temporary) and other unimportant data. How to use this tool is quite easy.
- First, right-click on the drive that you want to delete junk files from.
- Then open Properties.
- Select Disk Cleanup.
- Windows then scans the drive you selected and provides a list of files that you can delete.
- Select any files that you want to delete.
- Then click OK.
Apart from junk files, you can also delete residual files from the Windows system by clicking “Clean up system files”.
The scan process on Disk Cleanup takes quite a long time, especially if you are using an HDD.
After the scan process is complete, there will be several additional options that you can delete, such as Windows Update Cleanup or maybe Windows.old.
If you want to delete even more files, select “More Options” for more options. There is an option to delete applications that you rarely use or delete the System Restore Point.
3. Uninstall Rarely Used Files
Deleting or uninstalling the application will certainly provide extra remaining capacity on our hard drive.
Therefore you can enter “Programs and Features” in the Control Panel to remove applications that you may not use.
The way to enter programs and features is:
- Type Control Panel on the Start menu.
- Then open Control Panel.
- Select Programs.
- Then select Programs and Features.
If you are confused about which application you want to delete, you might start by looking for the file that has the largest size.
Just click “Size” under Programs and Features to see which applications are taking up the most space on your hard drive.
Apart from using Programs and Features, you can also use third-party uninstaller applications such as Revo Uninstall for a more in-depth uninstall.
4. Clean the Recycle Bin
Files that we delete (not permanently) will continue to be stored in the Recycle Bin and we can return them at any time.
However, because this file is stored in the Recycle Bin, this file also takes up the capacity of the hard drive you are using.
Most people haven’t even cleaned their Recycle Bin from the first time Windows was installed.
Those of you who have almost full hard disk capacity can try to clean the Recycle Bin by right-clicking on the Recycle Bin icon on the desktop, then selecting Empty Recycle Bin.
But remember, this method will permanently delete all files in the Recycle Bin, so it’s a good idea to check beforehand if you want to restore files from the Recycle Bin.
5. Deleting Duplicate Files
Unknowingly, from time to time, you may have some duplicate files that are of no use to your computer.
But unfortunately Windows does not have a feature to search for duplicate files on our computers.
So, the only option we have is to download an application that can search for duplicate files on the computer, one of which is VisiPics.
VisiPics can be used to find duplicate images that we have on the computer.
Apart from VisiPics, you can also use the Duplicate Cleaner Pro application to find not only duplicate images, but also other duplicate files on your computer.
6. Deleting Temporary Files
The default Windows application, namely Disk Cleanup, can indeed delete temporary files or temporary files very well. However, these applications cannot delete temporary files from external applications such as Mozilla Firefox or Google Chrome.
Some examples of temporary files stored by these two browsers are cookies, cache, internet history and others which can reach gigabytes.
You can use third-party applications such as CCleaner to clean up these temporary files or use the features of the browser in question.
An example is when using Google Chrome, you can delete temporary files by clicking settings (3 dots on the top right) then selecting Other features > Clear browsing data.
7. Reduce or Turn off System Restore
The System Restore Point is used to back up data on your computer so that if an error occurs in the system, you can immediately restore the system back to normal.
The way a system restore point works is to save system data and files of the desired size to be stored on the hard disk as a case in case there is an error in the Windows system which prevents it from functioning normally.
You can adjust the amount of data that will be stored by right-clicking This PC > Select Properties > System protection. In System Protection, select what percentage of the hard drive capacity will be used for the system restore point.
You can even turn off system restore points by selecting Disable system protection.
However, it should be remembered that by turning off system protection, you will not have any backups when an error occurs on your Windows system.
8. Deleting Hibernation Files
When you hibernate the system, the content stored in RAM will be transferred to the hard drive. That way, the system will not use any power at all.
And when you restart the laptop, you will return to the time before hibernation.
Windows stores all RAM contents in a file called hiberfil.sys which is located at C:\hiberfil.sys
You can delete these files when you don’t need them or you can also turn off the hibernation feature via the command in cmd (administrator) and type:
powercfg/hibernate off
Those are some ways you can use to clean the hard drive in Windows so it’s not always full.
A full hard disk will indirectly affect the performance of Windows so that Windows will be slow.
By lightening the hard drive, you can also speed up the performance of Windows .

Pradeep Sharma is a author the mind behind Techjustify, where I craft insightful blogs on technology, digital tools, gaming, AI, and beyond. With years of experience in digital marketing and a passion for tech innovation, I aim to simplify complex topics for readers worldwide.
My mission is to empower individuals with practical knowledge and up-to-date insights, helping them make informed decisions in the ever-evolving digital landscape.