How to create text that follows a path in Photoshop – You may create and edit graphics, text, and photos using Photoshop, a potent graphics editing programme. Text that follows a path can be made using one of Photoshop’s many tools.
This implies that you can use text to visually appealing effect to bend, curve, or wrap around an item or shape. You’ll discover how to make text in Photoshop that follows a route in this introduction. These procedures can help you improve your designs and give your text elements a unique flair.
The position of the text, the color and the font used can completely transform an image.
In fact, a well-crafted text can be a further design element that embellishes what has already been created.
On the other hand, a badly positioned text, with the wrong colors can damage an image that basically had excellent potential.
For this reason, the importance of the text you are going to insert should never be underestimated.
In fact, it should not be considered simply the vehicle of a message, it is not only used to provide information, but it complements the design of our project.
So the text deserves the same attention we give to creating the background or any other design element.
Let’s see in this tutorial how to give a path to our text.
In fact, we can create a personalized path that our text will have to follow.
We can insert a shape and use it as a path for text.
Or again we can use any graphic element, transform it into a path and attach a text to it.
In the video attached to this article we will see all 3 cases.
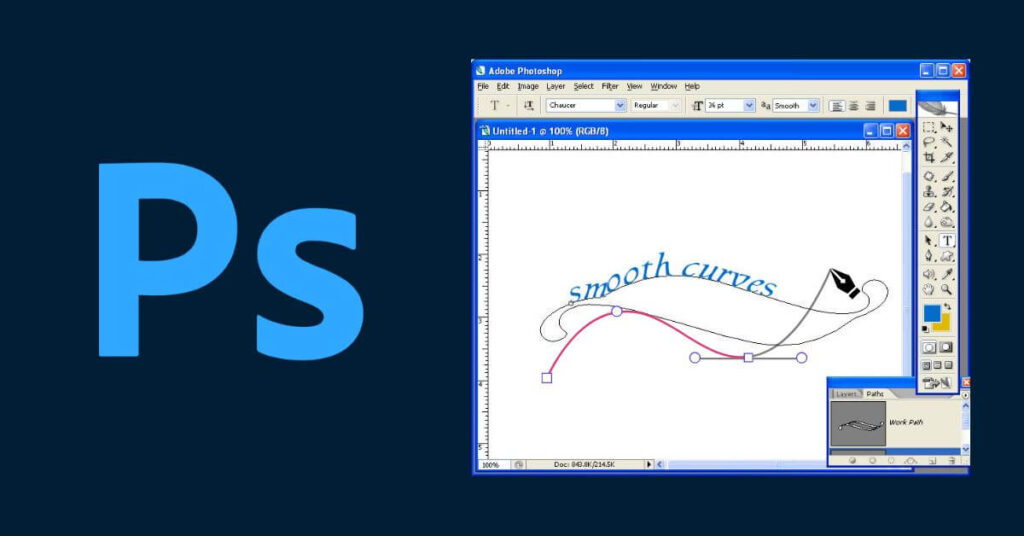
We are going to create an ellipse to which we will connect our text, which will follow its entire outline.
Then we’re going to create a path with the pen on which to place our text.
And lastly, starting from a png photo of a cat (therefore without a background), we will select the cat, thus creating a path and finally we will match it with our text.
Table of Contents
How to Create Text That Follows a Path in Photoshop
This tutorial would take too long to explain, so I refer you to the video in which you can follow all the operations step by step in order to create text that follows a path.
For those who don’t want to follow the whole video, here’s a short tutorial (which doesn’t cover all the explanation of the video.
Using the Pen tool or any other shape tool, make a path: The Pen tool, which enables you to draw precise and personalised forms, can be used to build a path. To design a path, you can also use other shape tools like the Ellipse or Rectangle tool. Draw the route along the shape or item you want the text to follow after choosing the tool.
Add text around a shape
To begin, let’s enter the shape we want to use as a basis for our text.
So if I wanted to insert circular text, I’m going to insert an ellipse.
After inserting the shape, I go to select the Text tool, then move to the edge of the ellipse.
The cursor will change shape, so I will have the type tool icon with a wavy line (previously it was a dashed square).
I just need to click on the point from which I want to start my text which will then be inserted along the entire edge of the ellipse.
Add text to a path
In this second case, we select the pen tool, and we go to insert the points that create the path of our text. At the end we can press the enter key to confirm the creation of the track which will disappear.
Now let’s go to the properties, to the list of paths and select the path just created, which will then become visible again.
We then select the text tool and click on the path to add the text.
We can at any time add, remove or move points in the path to change the path of the text.
To activate the Type tool, choose it and click the path: Choose the Type tool from the toolbar on the left side of the screen after constructing the path. After that, click the path to make it a text path. You’ll be able to type along the path thanks to this.
Read Also: How to Remove the Background in Photoshop
Insert text around a graphic element (for example a cat)
As seen so far, in order to insert text that follows a path, we need a path. But Photoshop allows us to create a path starting from any element.
So let’s make sure that we have selected the element from which we want to create a path.
Then go to Paths and select “Create path from selection”.
Once the path is created, we can manage it as we did before. Then we can snap the text to the new path.

Lokesh Sharma is a digital marketer and SEO expert at TechJustify with a keen interest in emerging technology trends including AI, cybersecurity, and digital marketing tools for more than 5 years. He writes clear, actionable articles for tech enthusiasts and business leaders, simplifying complex topics like VPNs, automation, and generative AI.