The COVID-19 pandemic meant that many of the activities that were carried out in person today have to be carried out in different virtual environments. A large part of the companies began to work remotely (those that can do so according to their activities), but one of the areas that were most affected by this situation is education. Is that it is difficult to find tools that allow teachers and professors to give a class as similar as possible to the ones they personally gave in schools or colleges. One of the most interesting in this sense is Classroom, a Google tool that has been very useful to teachers and today is the most used of all. But to access, there are some questions to take into account that we will detail below.
Table of Contents
Contents
How to create a Classroom account
Step 1: Download the application (on cell phones or tablets)
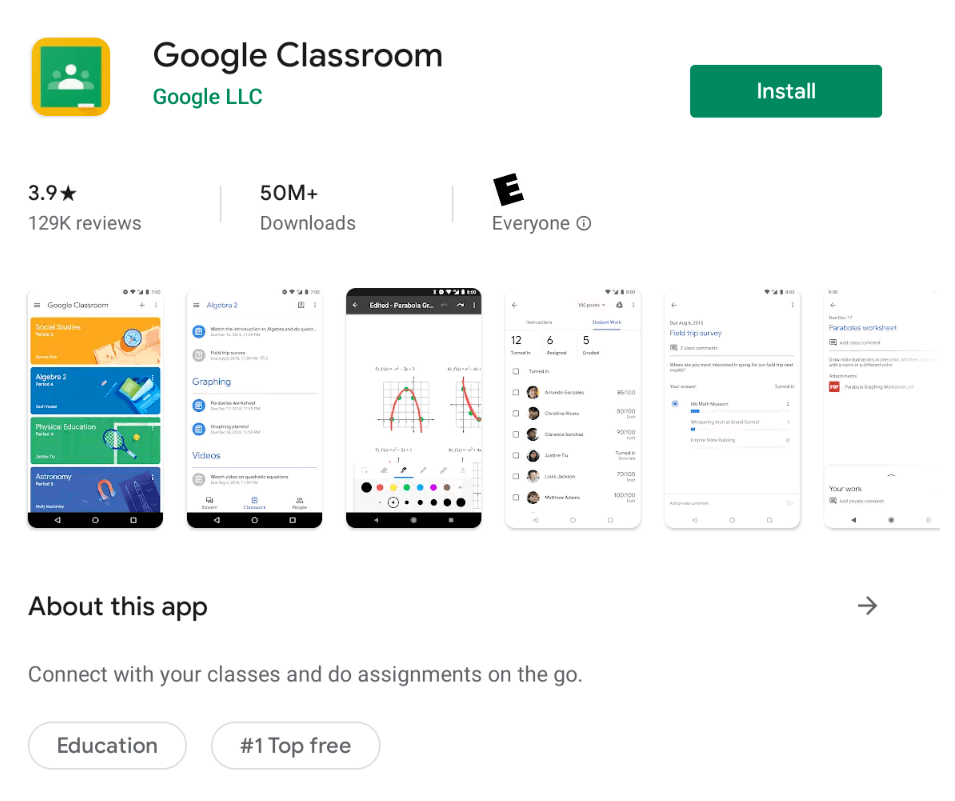
The clarification of the parentheses in the title of step 1 is because this tool can be used on computers without having to download the app, simply by accessing this website. However, there is also the possibility that they can use it on cell phones or tablets if they do not have a computer, or simply find these devices more practical. To do so, they simply have to enter the Google Play Store, search for “Classroom” and click on “Install” to download the application.
Step 2: Open the app and get started
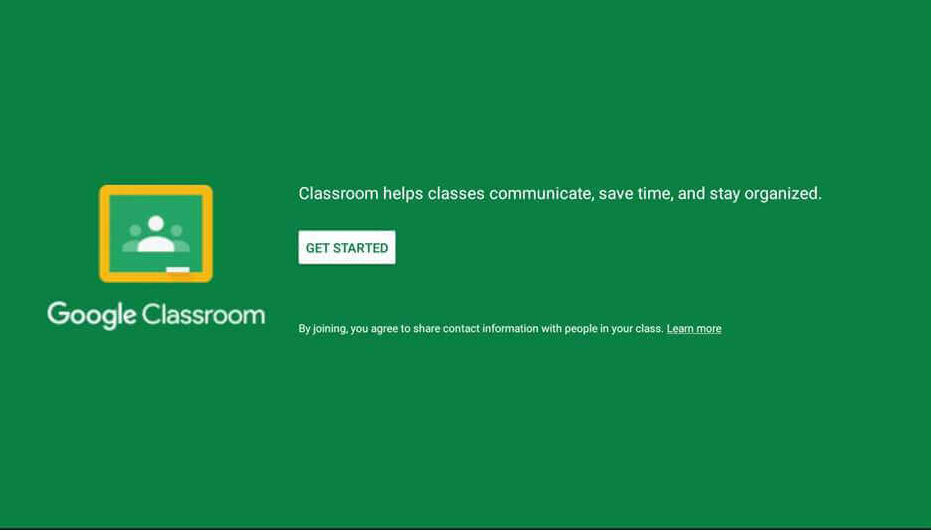
When we have the app downloaded on our device we have to click on the Open button. Once we have done it we will be inside, either the application or the website in case we are doing it on a computer. Here we will see a green screen of Google Classroom, and we have to touch the ” Start ” button to start the creation of the account and in this way be closer to being able to join a class (or create one in case we are teachers).
Step 3: Choose or create one email
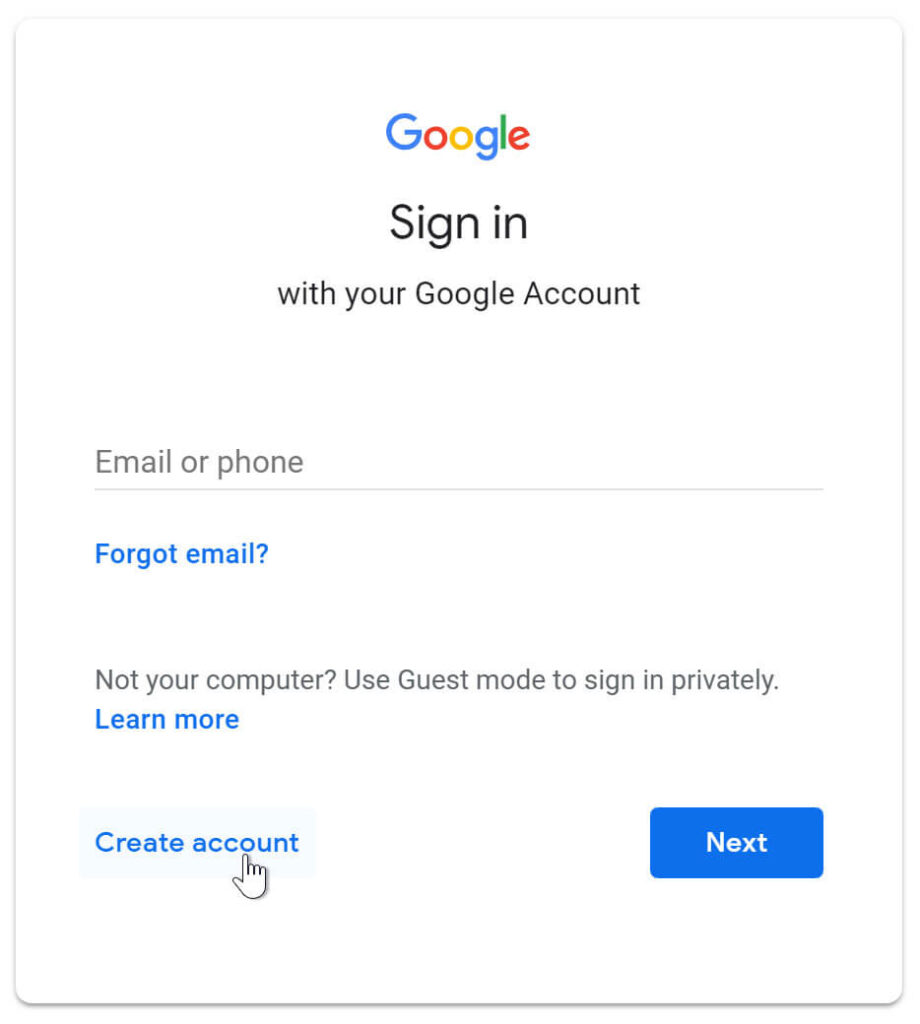
The next screen that will appear will be to complete some fields, and the first option it gives us is for us to select the Gmail account that will be associated with the Classroom account. They have the possibility to select one if they already have it created and the process will be much easier, but we are going to do the explanation thinking that not everyone has a Gmail account. What we must do in this case is to check the “Add account” option. Then it will directly take us to the Gmail screen so that we can access it, but we have to select the “Create Account” button and two options will appear: For me or To manage my company, and usually, the first one mentioned is selected (except that really we want to use it to make arrangements).
Step 4: Enter my account details
In this step, we will begin to complete the personal data for the Gmail account that will be used to access Classroom. We must detail our name and surname, our date of birth, gender, email address, and finally the password that we will use to enter. It should be clarified that many people, even though they already have a Gmail account created, decide to have another one specifically for educational purposes (so as not to mix things up with personal mail).
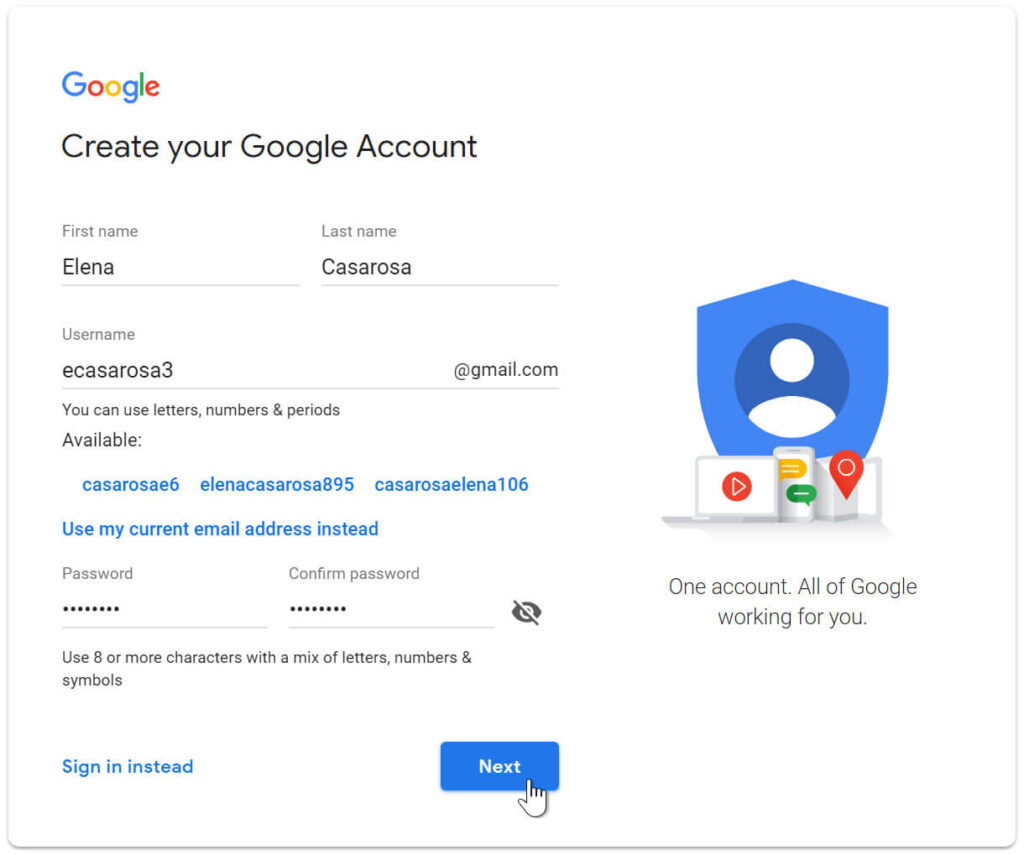
When we have read and accepted the Google terms and conditions, the account will be created and all we have to do is start. Again we have to click on the “Start” button as we did at the beginning, and we will be able to enter or create a class. It will not be necessary to log in as we will already be in the account we just created.
Log in to Classroom
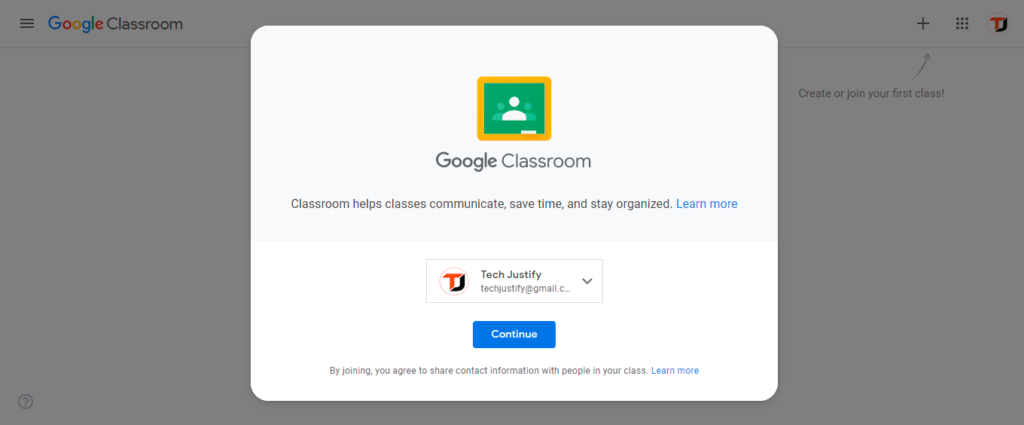
Although we mentioned that as soon as we create the account, it will not be necessary to log in, when we close the account and want to re-enter from the computer at another time, we must access it. This is done very easily, since you simply have to go to www.classroom.google.com, check the Go to Classroom option, enter the previously created email address, and click the Next button. Here a second screen will appear to place the password, and when we have this finished again we must click the Next button. In this way, we will be inside and we can join classes or create them.
Create a class
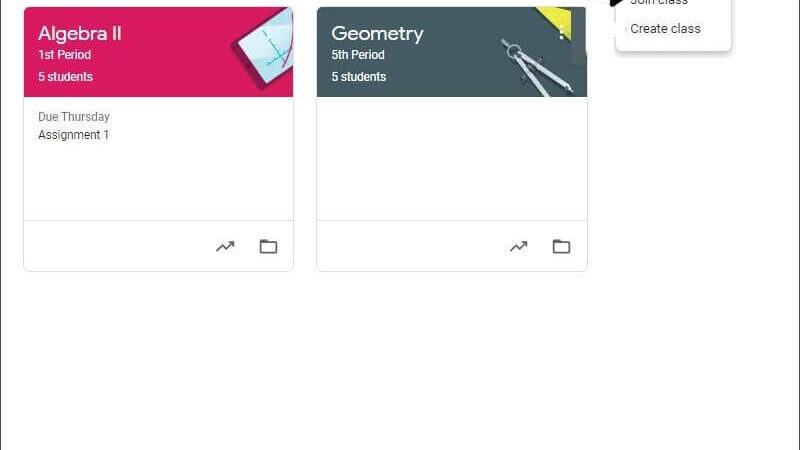
If we are teachers and we want to create a new class for students to join, the way is very simple. Once we are in the account, we have to go to the + button that is in the upper right corner of the screen, check it, and select the option Create a class.
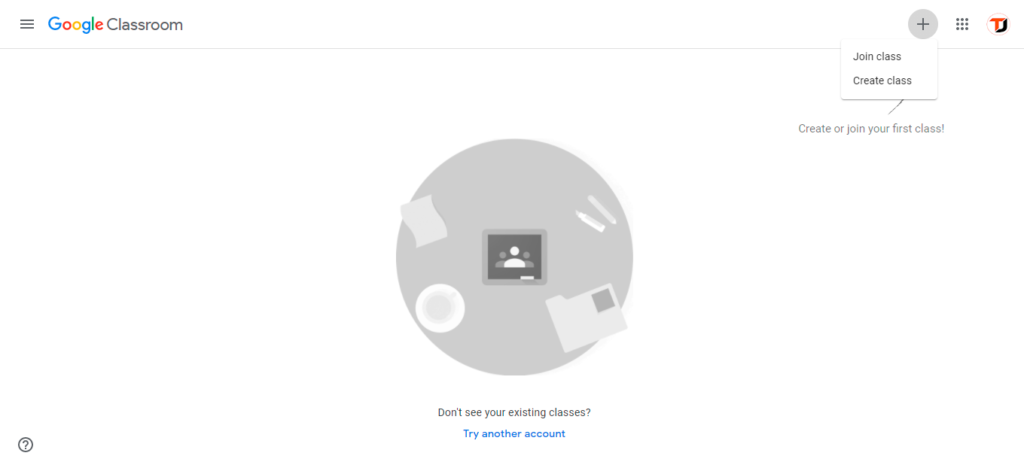
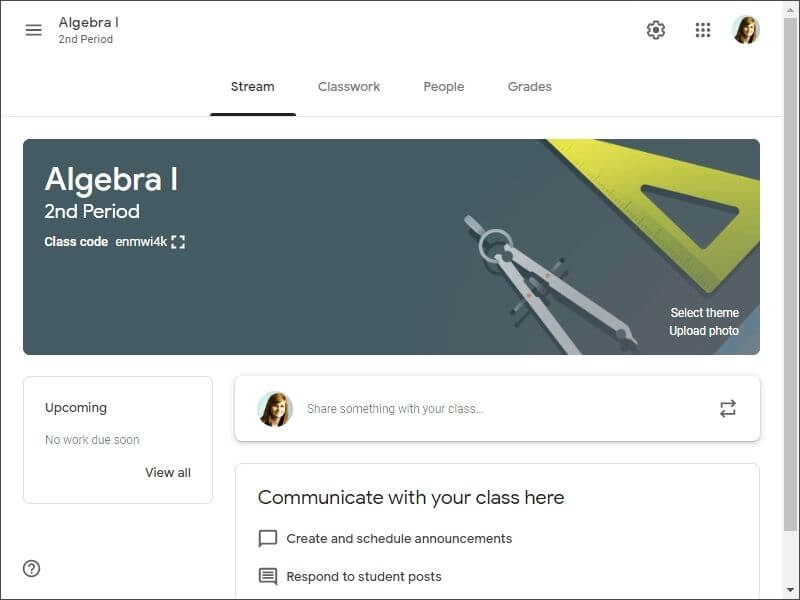
The next thing is to put some fields like the name of the class, the section, the subject, and the classroom. Once we have done it, the application will give us a code that we must share with the students so that they join and be 100% connected.
How to join a class
The way to join is even simpler than creating a class. It is that you have to check the + button located in the upper right part of the screen and select the option Join a class. There he will leave a space for us to place the code that the teacher has sent us, and after placing it we will be inside.
If you want to stay up to date, follow us on Instagram, Twitter. If you want to receive support for any questions or problems, join our Facebook Group or contact us on Instagram, Gmail, Linkedin, etc

Pradeep Sharma is a author the mind behind Techjustify, where I craft insightful blogs on technology, digital tools, gaming, AI, and beyond. With years of experience in digital marketing and a passion for tech innovation, I aim to simplify complex topics for readers worldwide.
My mission is to empower individuals with practical knowledge and up-to-date insights, helping them make informed decisions in the ever-evolving digital landscape.


