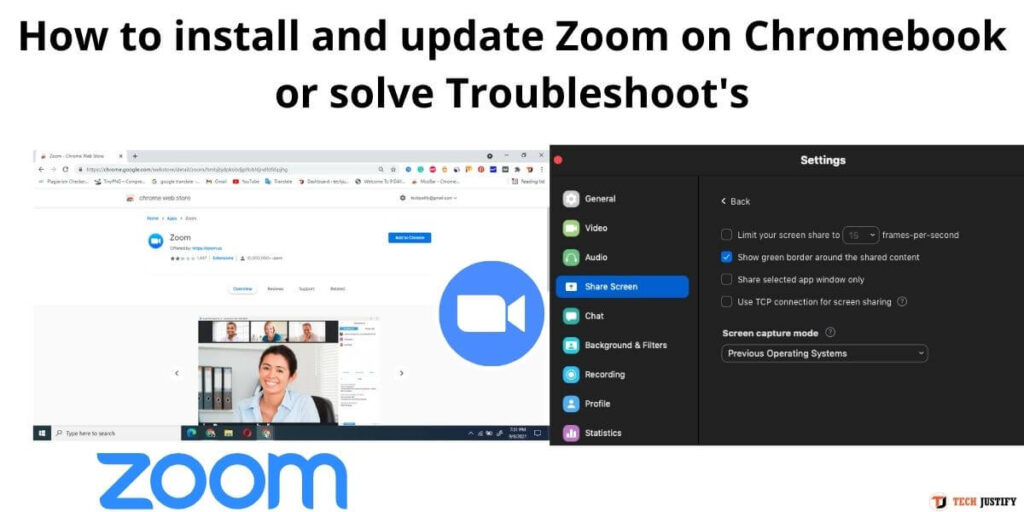
Currently, Zoom is one of the most popular video conferencing applications, being used especially in the educational field. This program can be installed on a smartphone, a tablet or it can be used from the browser that is commonly used. In the case of a Chromebook, the new version of Zoom has greater compatibility, with more functions than the previous one, and has greater compatibility. That is why it is necessary to know how to install Zoom on Chromebook, as well as to know the main aspects of its operation.
Contents
- 1 Use Zoom on a Chromebook
- 2 Download and install Zoom on Chromebook
- 3 Record a Zoom meeting on Chromebook
- 4 Features not available on Zoom Chromebook
- 5 Zoom Progressive Web Application (PWA)
- 5.1 How to download and install the Zoom PWA
- 5.2 Features added to Zoom for Chromebook with the PWA
- 6 Fix issues when Zoom won’t connect on Chromebook
- 6.1 Check the connection
- 6.2 Uninstall later applications and extensions
- 6.3 Sign in to the Zoom website and then delete Zoom for the web
- 6.4 Reset browser settings
- 6.5 Check the resolution
- 6.6 Update ChromeOS and reinstall Zoom
- 6.7 Additional recommendations
Table of Contents
Use Zoom on a Chromebook

There are several ways to use Zoom on a Chromebook, such as using the interface for the web browser. But the most recommended option is to download and install the application, which can be found in the Google Store.
With Zoom you can hold or participate in meetings, invite friends, manage meeting participants, among other features. Although you must bear in mind that there are not all the functions that are available in the desktop version, the web version or in the mobile application. The Chromebook app receives updates constantly, in order to improve both speed and efficiency.
Download and install Zoom on Chromebook
In order to use Zoom on a Chromebook, you need to download and install the app. To do so, follow these steps:
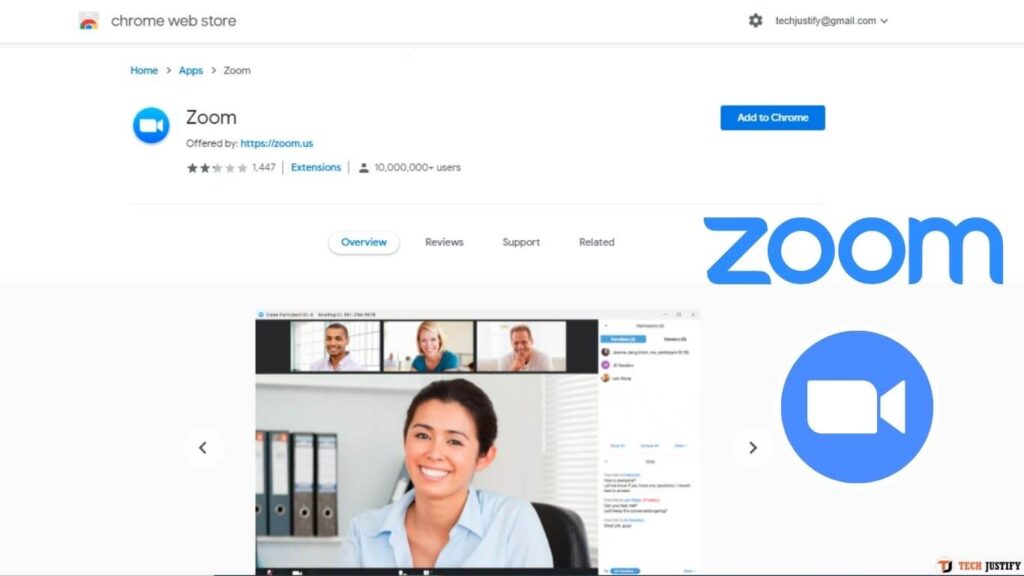
- You can first go to the official link on the Zoom website, where you must click on Download to redirect you to the Google Chrome Store. You also have the option of entering the store directly from the web browser.
- Once in the store, click on the Add to Chrome button, where a message will appear asking if you want to install Zoom, in addition to indicating the actions that the program can execute on your Chromebook.
- If you agree, confirm the installation by clicking on the Add app button, and in this way the installation of Zoom will begin.
- When the installation is finished, the Start applications button will be activated, which is located in the upper right corner. Pressing will immediately open Zoom.
- You can directly enter your ID and password for the meeting to which you have been invited. You can also click on the Sign In tab, to enter your data if you have already registered.
- Click on Start a meeting if you want to start a meeting, having the option of deciding whether to access it with or without video. Depending on what you decide, the meeting will start in Zoom.
When you finish installing Zoom, you can start participating in meetings or attending online classes. Keep in mind that there are functions that you will not be able to access on Chromebook, which are available for the computer and for Macs. But the main functionalities are present. Using Zoom on the Chromebook is straightforward and doesn’t vary much.
Record a Zoom meeting on Chromebook
When using Zoom on a Windows or Mac, you have the ability to record a meeting, either locally or in the Zoom cloud, no matter what plan is being used. But in the case of Chromebook you cannot access this function if the account is free. This means that you will have to update the account to a paid one, in order to use this function. If the account is paid, there is still a limitation, since you can only make a recording in the cloud.
- To start recording, check if the account is paid or educational. Then you must start or join a meeting and select the Record option, which is found in the meeting toolbar.
- You have the option to select Pause / Stop, in order to be able to pause or stop the recording.
- Once your meeting is over, go to the Zoom Web Portal, log in and go to the Staff section in the navigation menu.
- Then go to Cloud Recordings, so you can access the recording.
- Finally, select More and Download, among the options that are available, so that you can download the recording on the Chromebook. You can also share the recording with other people, through a link.
Features not available on Zoom Chromebook
Basically in Zoom for Chromebook, you can access almost all the functionalities found on computers and Macs. You can use audio, video, use chat in the meeting, make invitations, manage participants, you can control the shared screen, use rooms if the group is small, work with videos, among others.
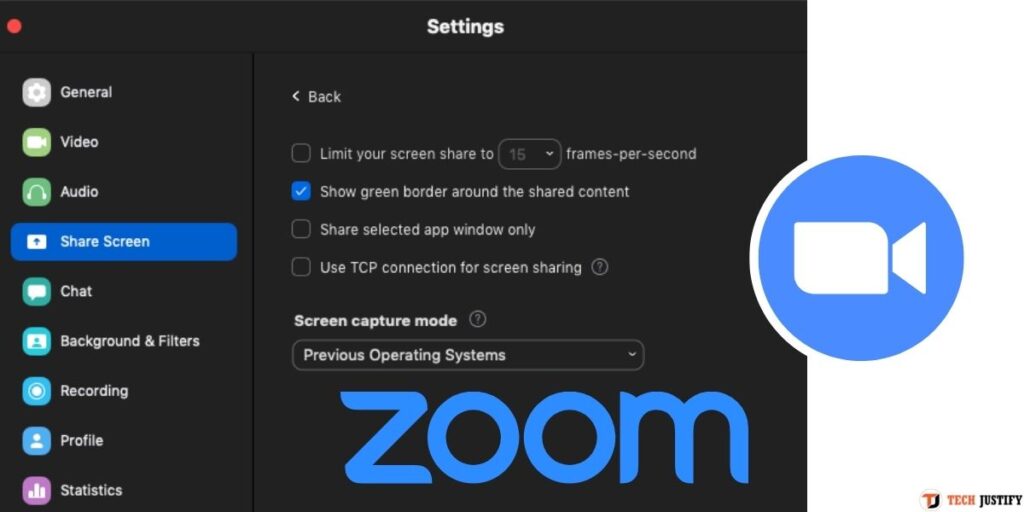
Take into consideration, for example, that among the functions that are not included in Zoom for Chromebook is that of changing the background, so you will not be able to find the virtual background selector. However, this is not the only missing function, as they are not available either:
- Meeting scheduling.
- Start a local recording.
- Ring the bell when participants join and when they leave.
- Change your profile photo.
- Send emoticons, animated GIFs, screenshots, or code snippets.
- Create, edit or invite members to a specific channel.
- Automatically call a phone number to join a meeting.
Zoom Progressive Web App (PWA)
The Zoom Progressive Web Application (PWA) is the new version for Chrome OS, which improves the entire user experience when using Zoom on Chromebook. In addition, you also get access to a greater number of different Zoom functions.
To make the experience of using Zoom on Chromebook even more productive, these enhancements, which make use of web technology, were made to simulate a native desktop experience and improve performance. A PWA consists of web applications that are installed in the operating system, in order to offer the possibility of using this version as an application, using the same technology used in the web browser and in the Chromebook. PWAs are generally much faster, as well as being more functional than commonly used applications. In addition, they take up less storage space, which becomes a great advantage when using cloud devices.
All updates carried out by Zoom are automatically received by the PWA, thus being able to obtain all the functions and improvements that are made. PWAs can be installed and managed remotely, having security and configuration options centrally.
How to download and install the Zoom PWA
The PWA can be installed from the Google Play store, to appear as an app on the Chromebook.


Download QR-Code Zoom for Chrome – PWA Developer: zoom.us Price: Free
- To start using it, you need to download the application, and then you can log in or join a meeting.
- You also have the option to install the new application in a more direct way, from the navigation bar of the web browser.
All users who have Chrome Enterprise and Chrome Education Upgrade installed have the possibility of accessing the previous native version until January of next year, although it is recommended that the change to the new PWA client be made before that date.
Features added to Zoom for Chromebook with the PWA
The PWA offers almost the same Zoom features as featured on a Windows or Mac computer, and has many more features than the previous version of Zoom for Chromebook. These include:
- Gallery view that can be customized, only if they have compatibility.
- Automatic room selection for small group meetings.
- Possibility of transcribing live.
- Perform live translations, using assigned interpreters.
- A new function has been added that allows hiding the background, in order to have greater privacy.
- Interact with the raised hand and be able to react in the meeting.
- In addition to these features, more features are expected to be added, which will further enhance the user experience, as well as what Zoom can do on Chromebook and on the web.
In the case of teachers who use Zoom from a Chromebook to teach classes, they can access the following functions:
- They can access the security icon found in the meeting controls, to be able to lock the meeting, as well as enable the waiting room and remove participants.
- Share, either the entire screen or just one application window.
- Record the session in the cloud, only if using a paid Zoom account, as indicated above.
- Create and assign small group rooms.
- Share audio with shared screens.
- Use a whiteboard when screen sharing (this feature is planned for the end of the year).
While students using Zoom on Chromebook can use these features:
- See the teacher’s shared screen and share yours too, if enabled.
- Make non-verbal comments, such as thumbs-up or thumbs-down gestures.
- Raise your hand when you are going to ask a question.
- Establish a chat with the teacher.
- Join small group rooms that have been created by the teacher.
Troubleshoot when Zoom won’t connect on Chromebook
When there are problems connecting Zoom to Chromebook, do the following to try to fix the failure.
Check the connection
Verify that the network connection is stable and that you have enough bandwidth for the Chromebook to use. In the event that other devices use the same connection, you must disconnect them, and check to see if the problem is resolved. You can connect your Chromebook to the Internet, using an Ethernet cable, in order to get a much faster connection. Then restart the computer and the router, in order to update the connection.
Uninstall later applications and extensions
In the event that the problem arises after installing a new application or extension on the Chromebook, try uninstalling it. If they are interfering with the operation of Zoom, removing these applications should be the solution to the problem.
- To be able to uninstall an application on Chromebook, click on the icon that represents a rocket launcher, and then click on the one that represents an Up Arrow.
- Right-click on the application you are going to remove, select Uninstall, and restart your computer. Verify that now you can use Zoom.
- In order to uninstall the browser extensions, you must start Chrome, click on the menu and select the option More tools, and then Extensions. Select Remove, which is next to the extension to remove.
- In addition, you must also deactivate all extensions and verify that the problem has improved. Some extension may be blocking Zoom.
Sign in to the Zoom website and then delete Zoom for the web
The Zoom web application is often unstable, so users prefer to connect directly to the Zoom website. When installing it on Chromebook, the program asks you to get the Android application and also the web application. You require to start the browser, move to Extensions, and exclude the Zoom browser extension, next use simply the standalone Zoom app.
Next, go to Zoom on the site, log in, Tap on the browser menu, move to More further tools, and then choose To create a shortcut. Give the new Zoom shortcut a name and configure it so that a new window can open. Zoom will keep asking you to download the browser extension. You should ignore the alerts and directly use Zoom in the browser.
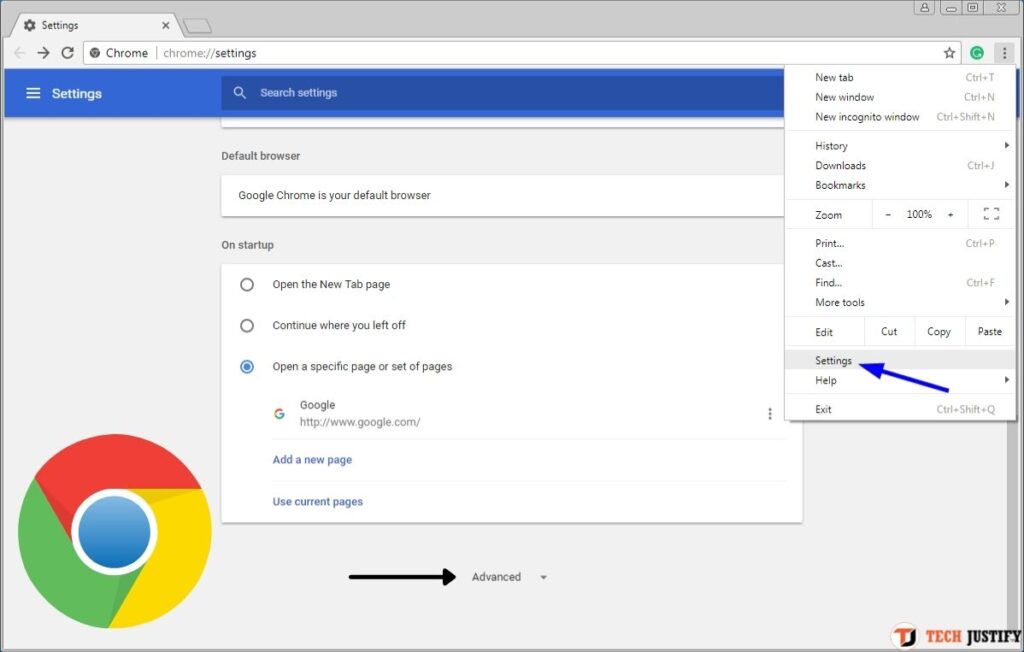
Reset your browser settings
There is a possibility that the current settings are preventing the Chromebook from successfully connecting to the internet. Reset your browser settings and then check if the problem is fixed:
- Launch Chrome and click on the three dots, which are in the upper right corner.
- Then click on Settings and go to Advanced.
- Select Reset options and then Restore settings to their original defaults.
- Close the browser, restart and check if the session starts.
Check the resolution
You may be able to fix the connection problem simply by changing the resolution settings. In some cases Zoom does not start if the resolution is set to 75%. Maybe when changing the resolution to 80%, Zoom works fine.
Update ChromeOS and reinstall Zoom
You can also try to fix the problem by installing the latest ChromeOS updates and reinstalling Zoom as well. Go to settings, then select About Chrome and click Check for updates. Uninstall Zoom and restart Chromebook. Then reinstall Zoom and verify that the connection problems are gone.
Additional Recommendations
For best use of Zoom on Chromebook, follow these recommendations:
- To be able to use Zoom PWA you must have the latest update of the browser and Chrome OS, in order to offer the whole series of performance improvements and functions.
- Reduce the number of tabs and applications that you have open, in order to avoid the dispersion of CPU use.
- Do not connect multiple monitors to reduce CPU load limitations as much as possible.
Zoom has become an essential tool today, especially in education and work. Installing Zoom on Chromebook makes it possible to use this device to connect to meetings or classes, and thus be able to enjoy all its advantages.
If you want to stay up to date, follow us on Instagram, Twitter. If you want to receive support for any questions or problems, join our Facebook Group or contact us on Instagram, Gmail, Linkedin, etc

Lokesh Sharma is a digital marketer and SEO expert at TechJustify with a keen interest in emerging technology trends including AI, cybersecurity, and digital marketing tools for more than 5 years. He writes clear, actionable articles for tech enthusiasts and business leaders, simplifying complex topics like VPNs, automation, and generative AI.