
Most people still use the less effective way of Create a Signature in Word. That is by first creating a blank column or area in the initial place in a Microsoft Word document, then printing it and signing it manually.
Indeed, it is not wrong especially if it is used as a printed document. However, if the use is to make digital files in Microsoft Word format (.doc or .docx) then there is another way that is more appropriate.
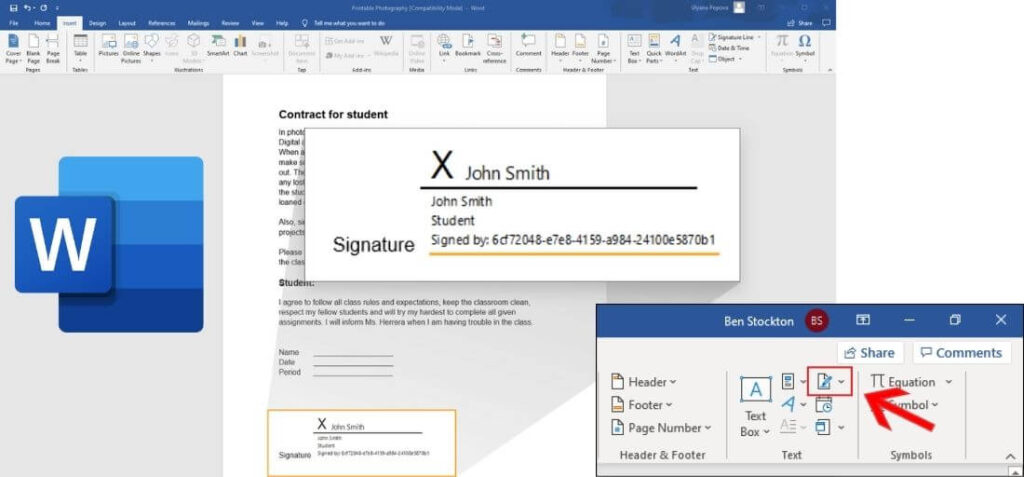
There are 2 ways to add a signature in Microsoft Word which we will discuss in this Microsoft Word study material .
First we can use our pre-prepared signature image file. Second, we can take advantage of the shape feature in Microsoft Word to create a signature directly in the document. Confused? Let’s just discuss one by one.
Table of Contents
How to Create a Signature in Word Using Images
- Prepare your signature image file.
- Open the Microsoft Word application or your Word document.
- Place the cursor in the area to add a signature.
- Click the Insert menu .
- Select Pictures .
- Locate the pre-prepared signature image file location.
- Click Insert to insert the image.
- Adjust the placement and size to fit.
- Then remove the background on the signature image by clicking on the image.
- Then click the Format menu .
- Click Color so that a variety of filter options or colored backgrounds will appear.
- Select the Set Transparent Color menu to change the background to transparent.
- Click the signature background area, the background will immediately turn transparent and the file is ready to be saved.

Then how to prepare the signature image file in step number 1 above?
To create a signature image file, we can write the signature manually first on white paper using a rather thick ballpoint pen.
Then the initial photo uses an HP camera and sends or copies the file from the camera to a computer or laptop. Then we just need to insert the photo file into the MS Word page area.
Read Also : Microsoft Office 2021 – everything you need to know about the new package
Well, if the method is too complicated then we can make it without a camera or without an image file. That is by utilizing the Shapes feature in Word.
How to Create a Signature in Word Live with Shapes
- Open the MS Word application.
- Select the Insert menu .
- Click the Shapes menu , to bring up various kinds of image shapes / shapes provided by MS Word.
- Select Scribble located in the Lines section to create digital signature lines.
- Hover over the signature area.
- Left click on the mouse and don’t let go.
- Make our signature as if the cursor is our pen. Move according to the shape.
- Release the left click when it’s finished then the file is ready to be saved.
For some people, this method may be a bit difficult because they are not used to drawing using a mouse.
It’s another case if we use a drawing pen or pen tablet instead of a mouse to draw our initials in MS Word, the results will be maximized.
Day by day the development of technology is also getting more advanced, everything is digital based so that the old ways or manual methods are starting to be abandoned.
For example, there are ways to give signatures in MS Word which are starting to be applied by many people because they are more helpful in lightening the work.
We are always open to your problems, questions, and suggestions, so feel free to Comment on us by filling this. This is a free service that we offer, We read every message we receive.
Tell those we helped by sharing our posts with friends or just liking to Follow us on Instagram, Twitter and join our Facebook Page or contact us on Gmail, Linkedin, etc

Pradeep Sharma is a author the mind behind Techjustify, where I craft insightful blogs on technology, digital tools, gaming, AI, and beyond. With years of experience in digital marketing and a passion for tech innovation, I aim to simplify complex topics for readers worldwide.
My mission is to empower individuals with practical knowledge and up-to-date insights, helping them make informed decisions in the ever-evolving digital landscape.