How to disable a Plugin from cPanel – You have problems with your website built on CMS WordPress and, after reading various tutorials on how to solve this problem.
You have read that you have to deactivate a Plugin (or all Plugins) to see if the site returns as before but you do not know how to do it? Don’t worry, we’ll help you! Here we will show you how to disable a Plugin from cPanel.
Most of the problems with a website built on WordPress are caused by plugins.
Unfortunately, sometimes it is really impossible for us to enter the bulletin board of our website, and we have to deactivate the plugin from the cPanel. In this guide, we will show you how to do this in complete safety.
How to disable a Plugin from cPanel
Below you will see the procedure for deactivating a plugin directly from cPanel, without entering the WordPress dashboard of your website.
I remind you that the procedure is reversible and you can reactivate the plugin in question with a simple click. But let’s see how to do it right away.
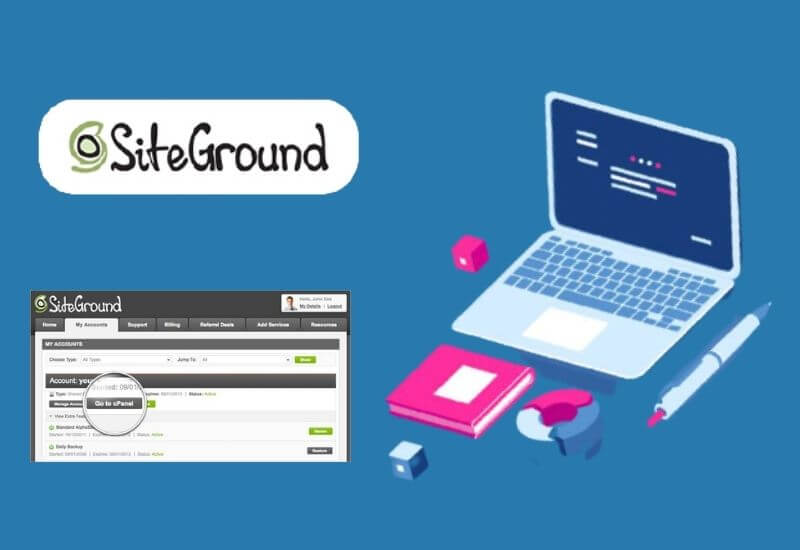
First, enter the cPanel of your Web Hosting (in my case SiteGround ). Once logged into cPanel, locate the ” File ” section and click on ” File Manager ” .
If you do not find the file manager, go to the top left in the search space and type “file management” (Find).
Once in “File Manager”, select the website on which to disable the plugin and click on “Go” or ok. You will immediately enter the heart of your website: here you will see all the folders and other files that make it up.
What you have to do is locate the ” wp-content ” folder, open it (with a double click) and then enter the ” plugins ” folder. Here you will see all the plugins folders you have installed on your website.
Find the plugin you want to deactivate, double-click on its name, and rename it .
Once renamed, enter and make sure the name has changed. You can rename a plugin by simply adding “ -1 “, like wordfence-1

By doing so, the system will no longer recognize the plugin folder and will be as disabled. You can rename it in any way, but remember to change it back to its original name when you want to reactivate the plugin.
To deactivate all the plugins instead, all together, just rename the folder that contains all the plugins directly , that is the “ plugins “ folder. You can rename it plugins-1
Many of the times, to find out which plugin is causing problems in a WordPress site, you have to deactivate the plugins one by one and reactivate them gradually.
Just rename each plugin with -1 (as you saw above), then reload the site on the browser, check if the problem disappears, go back to the folder, return the plugin to its original name and rename another, and so on.
This is a very simple and fast procedure that will allow you to deactivate the plugins and verify the correct functioning of the site almost instantly.
Do not delete the plugin folder (it would be the easiest thing but then you have to reinstall it). With this procedure, there is no need to reinstall the plugin.
Well, we showed you how to disable a Plugin from cPanel if you have problems with your website
We are always open to your problems, questions, and suggestions, so feel free to Comment on us by filling this. This is a free service that we offer, We read every message we receive.
Tell those we helped by sharing our posts with friends or just liking to Follow us on Instagram, Twitter and join our Facebook Page or contact us Gmail, Linkedin, etc

Lokesh Sharma is a digital marketer and SEO expert at TechJustify with a keen interest in emerging technology trends including AI, cybersecurity, and digital marketing tools for more than 5 years. He writes clear, actionable articles for tech enthusiasts and business leaders, simplifying complex topics like VPNs, automation, and generative AI.