How to optimize images for the website – Are you creating a website, be it your portfolio or that of a business, and are you looking for a way to optimize the images that you will then insert
But you don’t know exactly how to do it and which services or plugins to choose? Don’t worry, I’ll help you! Here I’ll show you how to optimize images for your website.
Image optimization is one of those main practices that you absolutely must do to speed up the loading of your website and improve in Google Ranking.
The general improvement is brought about by the loading speed of the site, a speed that goes hand in hand with the “lightness” of the files, in this case, the images, present on it. But let’s see how to do it right away.
- 1 How to optimize images for the website
- 2 How to Optimize Images for the Online Website
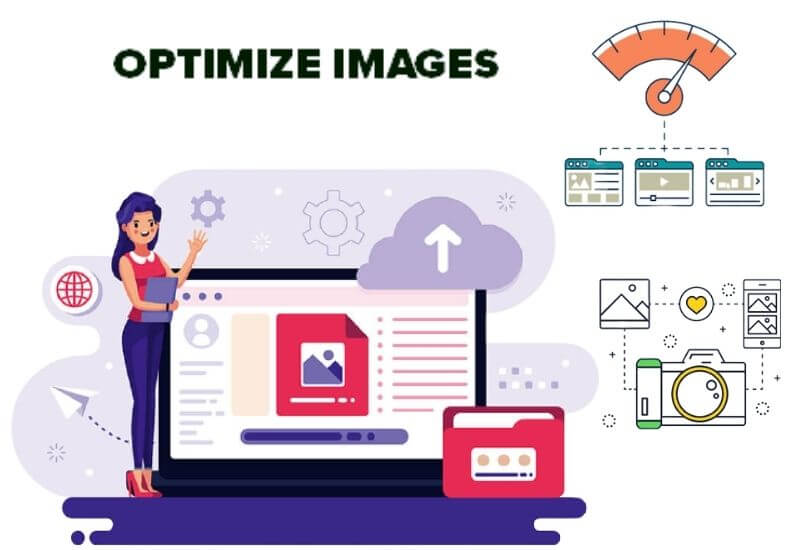
How to optimize images for the website
First, you need to learn not to upload images that are larger than they should. You can view the real size of the sections of your website by opening the website in question and then right-clicking on the image to be checked and selecting “ inspect “.
You can move around the lines of code until you see the measurements of the overlay image. For the images, you have on your PC (Windows) instead, j
Just click with the right mouse button on the photo, then choose ” Properties ” and ” Details “. This is for the preliminary operations.
The “professionals” of the sector know that in terms of image optimization “, the latest trend is to convert them into the WebP format.
the new format that allows you to increase the loading speed of web pages, because, with the same quality, images are 30% lighter (many times more). . But we are not professionals and we proceed normally. Keep reading
Now, to resize an image that is too large, without having software like Photoshop available, just use Paint, the utility available to everyone by default, on Windows installations.
Then go to the photo, right-click, select “Open with ” and then ” Paint ” (Not Paint3D).
Now, to resize the image, click at the top left on ” Resize “, then select ” Pixel ” and set the size you want (usually size of 1920 × 1280 is used for background images on the screen whole ).
Don’t worry about the aspect ratio, the image will be automatically resized in height as well. Then click on “OK”, File> Save as> choose the format and Save.
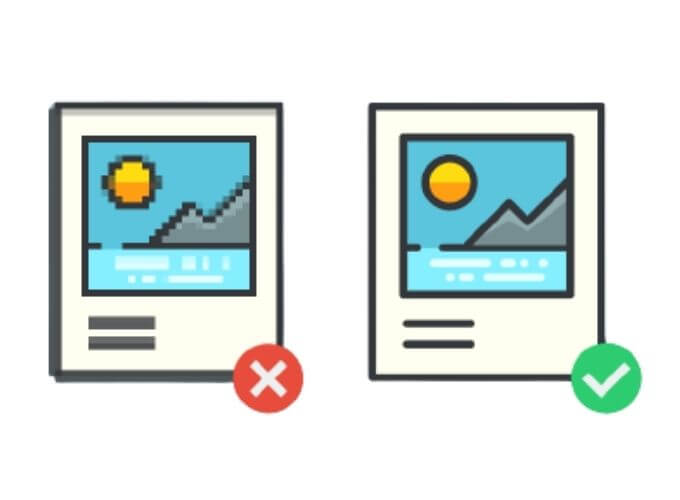
You will notice that the optimized image will weigh less than the disproportionate one you had before! ( I do not recommend uploading images over 300KB to your website ).
How to further optimize the image? Just use a well-known online service.
How to Optimize Images for the Online Website
If you want to optimize your images further, you can rely on the well-known online service tinypng.com.
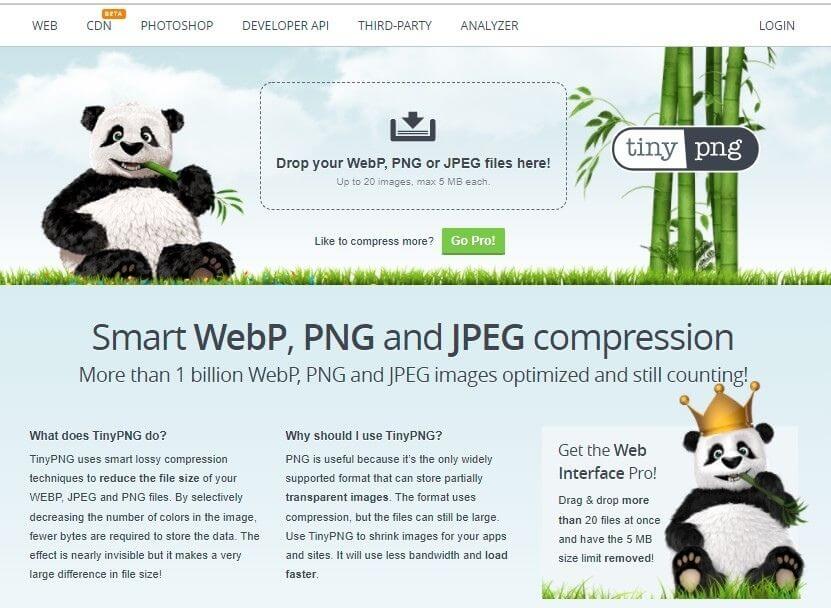
Once the service site has been opened, which is available to us free of charge, click on the arrow icon at the top center, select the image to resize and upload it.
The software will automatically optimize the image and show you the optimized percentage.
Now just click on the link that says ” download ” on the far right and save the image on your computer desktop.
To replace the image then, go to WordPress (if you use this CMS), upload the photo and delete the old one.
Then refresh the browser window remembering to clear all possible caches. You will notice a noticeable improvement in loading that particular page of your website.
You can test on gtmetrix.com.
Another online service that I recommend is called shortpixel.com. Just open the website, click “ Drop up to 50 file here to optifiles ” (which means you can optimize up to 50 images per day), and upload a photo.
Once optimized, click on the down arrow icon, just below the optimized photo thumbnail, and download it to your PC. Easy right?
Conclusions
Given that it is always better to optimize the images before uploading them to CMS like WordPress
Instead of installing an additional specific plugin that deals only with the photos (if instead, you want to install a plugin for WordPress, use the very valid Smush – Lazy Load Images, Optimize & Compress ),
This is a fundamental practice to speed up the uploading of photos by those who visit your website through rather slow mobile connections. Well, I showed you how to optimize images for the website
We are always open to your problems, questions, and suggestions, so feel free to Comment on us by filling this. This is a free service that we offer, We read every message we receive.
Tell those we helped by sharing our posts with friends or just liking to Follow us on Instagram, Twitter and join our Facebook Page or contact us Gmail, Linkedin, etc

Lokesh Sharma is a digital marketer and SEO expert at TechJustify with a keen interest in emerging technology trends including AI, cybersecurity, and digital marketing tools for more than 5 years. He writes clear, actionable articles for tech enthusiasts and business leaders, simplifying complex topics like VPNs, automation, and generative AI.