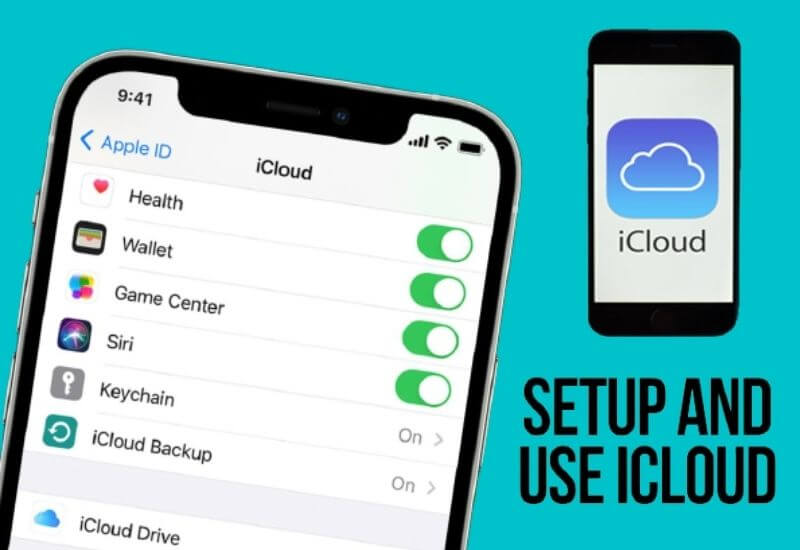
How to Make Icloud iPhone – For those of you who have an iPhone, then iCloud is an account that is very important to have.
How to make an iPhone iCloud is easy, because it’s almost the same as creating another account.
Because iCloud itself is able to make iPhones able to connect to each other, back up automatically, synchronize, and many other functions of the account.
For those of you who don’t know how to make an icloud , here is how to make an icloud iphone which is very easy. Follow the steps well.
Table of Contents
How to Make iCloud iPhone
The steps are actually easy. It just needs to be followed properly in order to run smoothly.
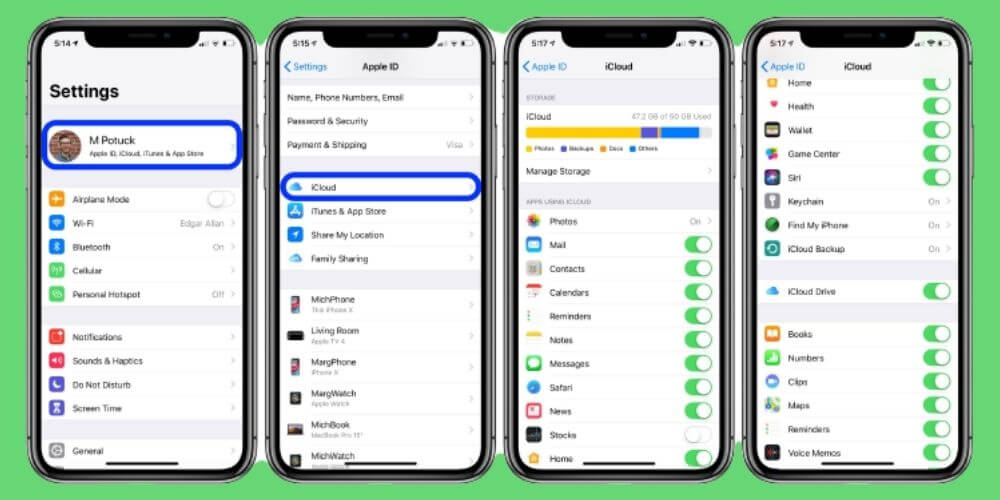
1. Open the Settings Menu
The first way to make an iCloud iPhone is to open the settings menu first. Usually, the settings menu itself is marked with a gear icon that has a gray color.
In addition, usually, the settings menu itself is on the home screen
2. Click the Sig In To Yout Button (Device Used)
After opening the settings menu, the next step is to click the sign-in to your (device used) button.
This button is usually at the top of the menu. Meanwhile, if you are running an older version of iOS, then choose iCloud first.
After that click creates a new Apple ID.
3. Click the Don’t Have An Apple ID or Forgot It button on the screen
After clicking the sign-in to your button (the device used), other options will appear.
If the option appears, then click the “don’t have an Apple ID or forgot it?” button. The button is right under the column to enter the password.
4. Click the Create Apple ID button as a way to create iCloud iPhone
If the button “don’t have an Apple ID or forgot it?” It has been clicked, then the next way is to click the Create Apple ID button.
The button is right above the pop-up menu, after seeing the button that says create Apple ID, just click it. So that you can proceed to the next method.
How do I create an iCloud account on my iPhone?
5. Enter your Birthday on how to create iCloud iPhone
If the four methods above have been done, then the next way to create an iCloud iPhone is to enter the date of birth.
Slide the month, day, and year column up or down to enter the date of birth according to the date of each birth.
After matching, then click the next button located right in the upper right corner of the screen.
6. Enter First Name And Last Name
After entering the date of birth, the next way to create an iCloud iPhone is to enter the first name and last name.
Fill in the first name and last name in the fields provided. If the name is appropriate then click the next button to continue the next method.
7. Enter the Icloud Email Address
After filling in your first and last name, the next step is to fill in your email address. This address will be used to log into iCloud.
After entering the email address, click the next button.
8. Enter Phone Number
After entering your email address, the next step is to enter your phone number. This phone number is used for verification.
If verification has been entered via message, then enter the verification number and then click Next.
9. Click Agree
If it has been successfully verified, then create an iCloud iPhone, the next step is to click agree. It’s in the lower-right corner of the terms and conditions page.
Read Also : How to restore an iPhone, iPad, or iPod from an iCloud backup
If you have clicked the agree the button, enter the device passcode. The code is the code that has been set when adjusting the device settings.
After that, the message signing into iCloud will also be displayed on the screen.
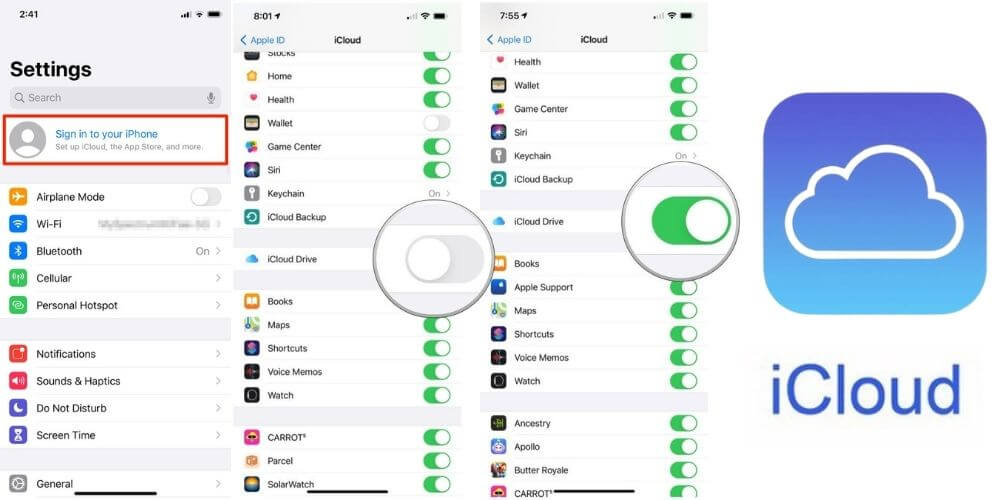
10. Copying Data
After doing the nine ways above, the last way to make an iCloud iPhone is to copy data.
This is done if you have important data that you want to copy to your iCloud account. In addition, the iCloud settings can also be adjusted to the iPhone you have.
We are always open to your problems, questions, and suggestions, so feel free to Comment on us by filling this. This is a free service that we offer, We read every message we receive.
Tell those we helped by sharing our posts with friends or just liking to Follow us on Instagram, Twitter and join our Facebook Page or contact us on Gmail, Linkedin, etc

Pradeep Sharma is a author the mind behind Techjustify, where I craft insightful blogs on technology, digital tools, gaming, AI, and beyond. With years of experience in digital marketing and a passion for tech innovation, I aim to simplify complex topics for readers worldwide.
My mission is to empower individuals with practical knowledge and up-to-date insights, helping them make informed decisions in the ever-evolving digital landscape.