Windows 11 was officially released a few days ago to be exact on October 5th. Windows 10 users can upgrade to Update Windows 11 for free, provided that Win 10 has been activated.
Of course, the activation must be legal either with the original Windows serial number or the default from the laptop.
There are 2 ways to update windows 11 that can be done from Windows 10. Both of these methods are very easy and safe because without losing data on our laptop or PC.
The first way is through Windows Update , while the second is through Windows Assistant .
Before updating Windows 11, make sure that the laptop or PC that we are using meets the minimum requirements of Windows 11. What are the requirements? Have a look at the requirements below!
Windows 11 Requirements
- Processor: 64bit with a speed of 1 GHz at least 2 cores
- RAM: 4GB
- Hard disk: 64GB
- System firmware: UEFI with Secure Boot support.
- TPM: 2.0
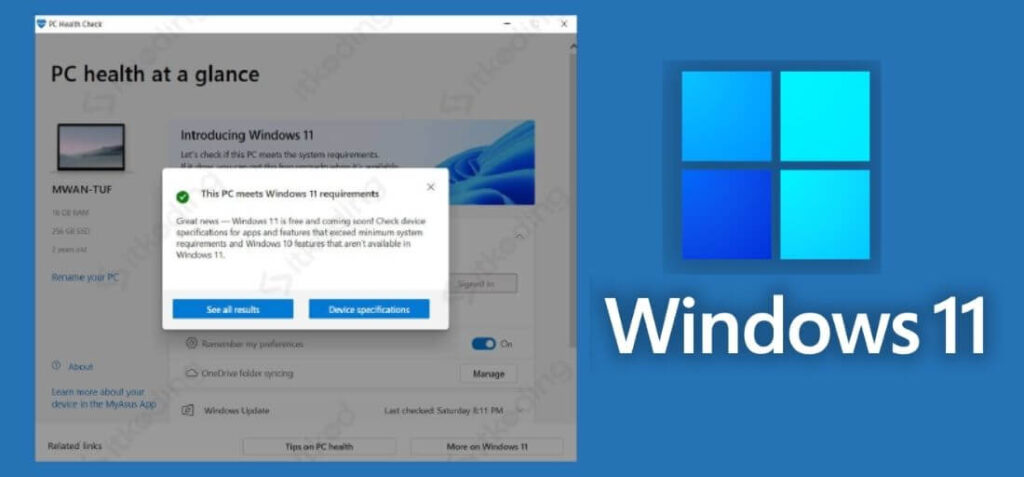
To determine whether the laptop / PC has met all the requirements above, we can use the automatic checking tool provided by Microsoft called PC Health check windows 11.
You can download it on the official Microsoft website at this link .
Then simply open the application and click on Check Now then the results will be shown. After making sure that the PC / laptop meets the requirements by showing This pc meets windows 11 requirements then we can do the update.

Next, we will discuss the steps either with Windows Update or the Windows installation assistant along with the things you need to know when updating and after the update process takes place.
Table of Contents
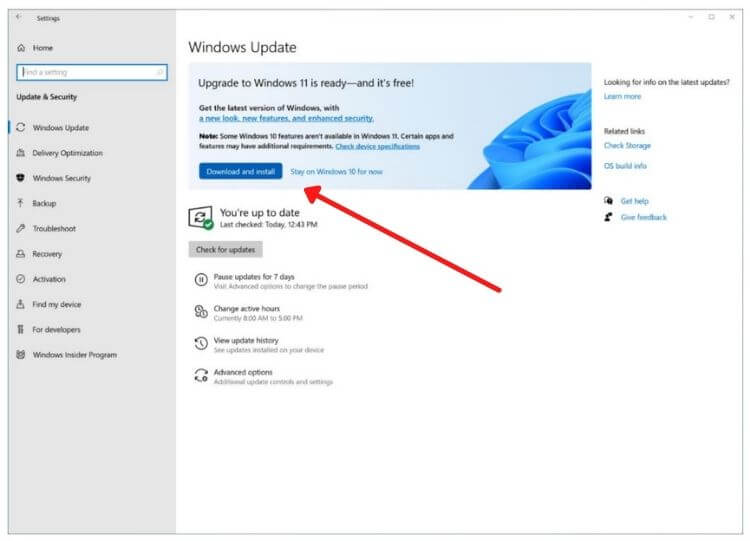
How to Update Windows 11 via Windows Update
- Open the Settings menu on the Windows start menu.
- Select the Update & Security menu .
- Click Check for Update , if Windows 11 doesn’t exist, try to do the update that appears first and then restart. Then go to Update & Security again and click Check for Update again. Do it until all updates are complete. If the laptop/PC meets the requirements, the Windows 11 update should appear with the Review the License term button .
- Click Review the License term and select Accept and Install .
- Click Download then wait for the process to complete about 60 minutes with a fast and stable internet speed.
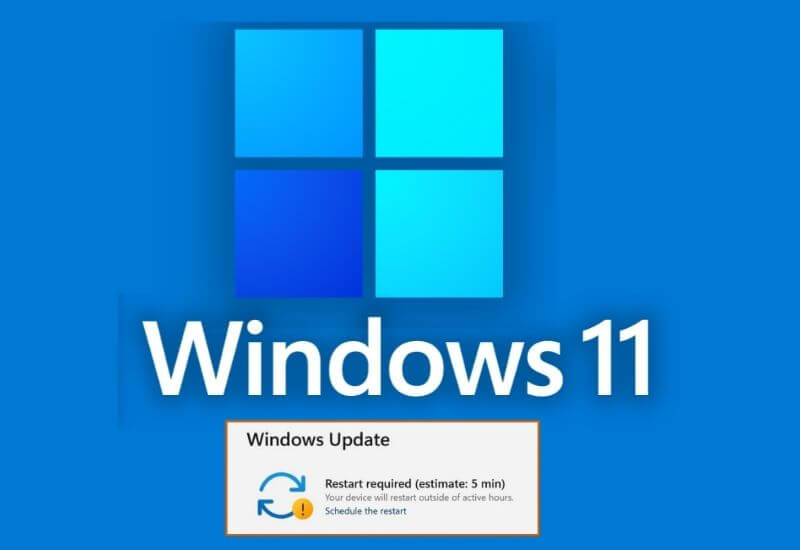
- Restart Windows then wait again until the update process is complete, approximately 30 minutes.

After the Windows restart process is complete, we will get the appearance of Windows 11. There are 2 problems that often occur when doing this upgrade. The first problem is that the Win 11 update option doesn’t appear.
Meanwhile, the second problem is that the start menu doesn’t work (can’t be clicked) and the taskbar hasn’t changed. We will discuss the second problem at the end of this article.
Update: These issues were fixed in the latest update. So after updating in the way above, the Windows 11 menu and taskbar are functioning normally.
Why doesn’t Windows 11 update appear in Windows Update?
Even though the laptop or PC meets the requirements sometimes the update button to Windows 11 does not appear.
This is because the PC or laptop hasn’t gotten a turn to upgrade or we haven’t updated the existing versions of Windows 10. From my experience, the update button appears after performing all existing Windows 10 updates.
Well, if you don’t want to wait too long for the option to appear, the solution is to update using the Windows 11 Installation Assistant.
How to Update Windows 11 using Windows 11 Installation Assistant
- Download the Windows 11 Installation Assistant from the official Microsoft site at this link .
- Open the downloaded file.
- Click Accept and Install .
- Wait until the update process is complete. When finished, the laptop or PC will ask to be restarted.
- Click Restart Now . Then the computer will restart. If no restart process occurs then restart manually as usual.
- Wait for the restart and update process to complete. After the restart is complete, Win 11 has been installed on our laptop/PC.
After successfully logging into Windows again, we will be presented with a new desktop display. Starting from the Start menu which is cooler, the taskbar is in the middle by default and different icons.
But it is not uncommon for people to experience problems with the start menu not being clicked and the taskbar not working properly.
How to solve Windows 11 start menu not being clicked?
To solve the problem of the start menu that cannot be clicked we have to add a new user on the laptop and then log in with the new account. The trick is to click the Win + R button then type netplwiz. Press Enter.
Create a new account by clicking Add.. then change the group to Administrator. To change to admin then click on the account then
Click Properties then click on the Group membership tab then select Administrator then click Apply > OK.
After creating a new user then restart your laptop/PC then log in with the new user. Then we will get a display of location settings, data and others. Then the taskbar appearance will change according to the new Windows 11 taskbar.
The start menu can also be accessed normally. Well, then we can move all data from the old user to the new user starting from the data in Documents and other data in our old user folder.
Update: The Windows 11 start menu not being a clickable issue was fixed in the latest update. After updating we will not experience these problems and can immediately use the start menu without having to do the above method.
Closing
Update Windows 11 feels very easy with just a few clicks without fear of losing data.
The ease of upgrading windows is certainly a positive thing because all users will be able to install Windows 11 from Windows 10 without the help of a technician.
However, you should still backup important data before updating to prevent unwanted things such as data loss.
We are always open to your problems, questions, and suggestions, so feel free to Comment on us by filling this. This is a free service that we offer, We read every message we receive.
Tell those we helped by sharing our posts with friends or just liking to Follow us on Instagram, Twitter and join our Facebook Page or contact us on Gmail, Linkedin, etc

Pradeep Sharma is a author the mind behind Techjustify, where I craft insightful blogs on technology, digital tools, gaming, AI, and beyond. With years of experience in digital marketing and a passion for tech innovation, I aim to simplify complex topics for readers worldwide.
My mission is to empower individuals with practical knowledge and up-to-date insights, helping them make informed decisions in the ever-evolving digital landscape.


